Copyright © 1998 by Ian Currie
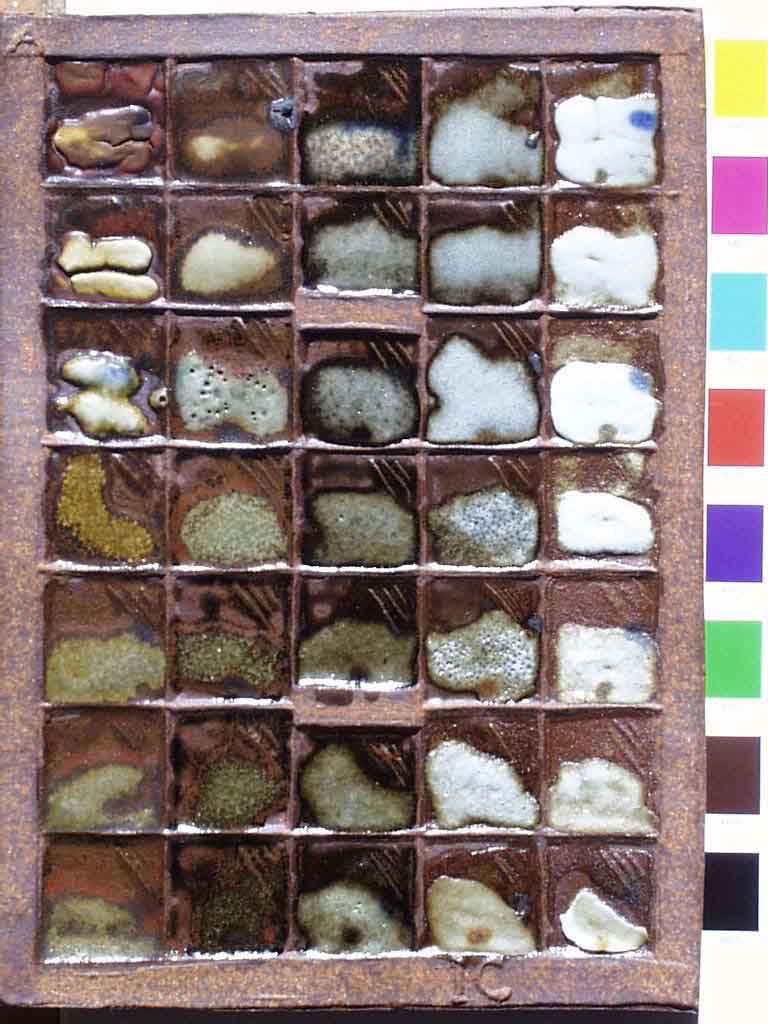
Make the tiles in a variety of clay types but definitely including some white clay, and some iron-y clay. It is a tile with retaining walls for the 35 glazes laid out in the same order as the grid of 5 glazes across by 7 down. The compartments in the photo below are about 1 inch (25 mm.) square:
They are easiest made by carving grooves about 2mm deep into plaster so it looks a bit like a shallow block of chocolate, and rolling clay onto this to give 2mm ridges. Make the outside ridges wide (about 10mm.) to provide a border and somewhere to put kiln wadding when stacking the tiles on each other for firing. Also carve some shallow grooves into the corner of each of the 35 compartments in the plaster. This gives some raised texture on the tile for the glaze to break over. A good size for the compartments is around 1 inch or 25mm square. Engrave an "A" into the top right corner of the plaster so it appears on the top left corner of the tile. Count the number of compartments in both directions! It's easy to make a mistake. We want 35 compartments in a 5 by 7 format.
Scratch the clay body identification into the back of each grid tile when leather hard. Click to see illustration from "Revealing Glazes..."
DIAGRAM: Grid Tile 5 x 7 Format
The same format is used in each set which allows standardisation of many aspects of the experimental method. This includes being able to look up all the recipes from a table, or at this web site, we produce the recipes at the Calculation Page. The production of extra "clone" tiles of a particular set takes very little extra time. With a little care they can be kept indefinitely to be fired in a variety of firing cycles. Handling, labelling and documenting time is minimised.
Return to A RECIPE APPROACH TO THE SYSTEMATIC STUDY OF GLAZES.